How to Photograph Artifacts
Photographing artifacts is a critical part of cataloging fossils, antiques, and other valuable items. When done correctly, a photograph helps museum workers, researchers, collectors, and other interested parties view and assess the item.
However, poor work quality and incorrect photography practices risk harming the artifacts.
In general, photographing artifacts must be done uniformly to avoid any damage to items and to create consistent record-keeping. Careful photography can capture small aspects of each artifact to make them easier to evaluate and appreciate.
Understanding how lighting and positioning affect picture quality will help any worker take better images at all stages of the process.
Finding the best position and conditions for artifact photographing will help people retain information about artifacts that are commonly lost in poor photos.
Here are some ways you can improve your photography skills to capture detailed images that preserve the essence of valuable artifacts.
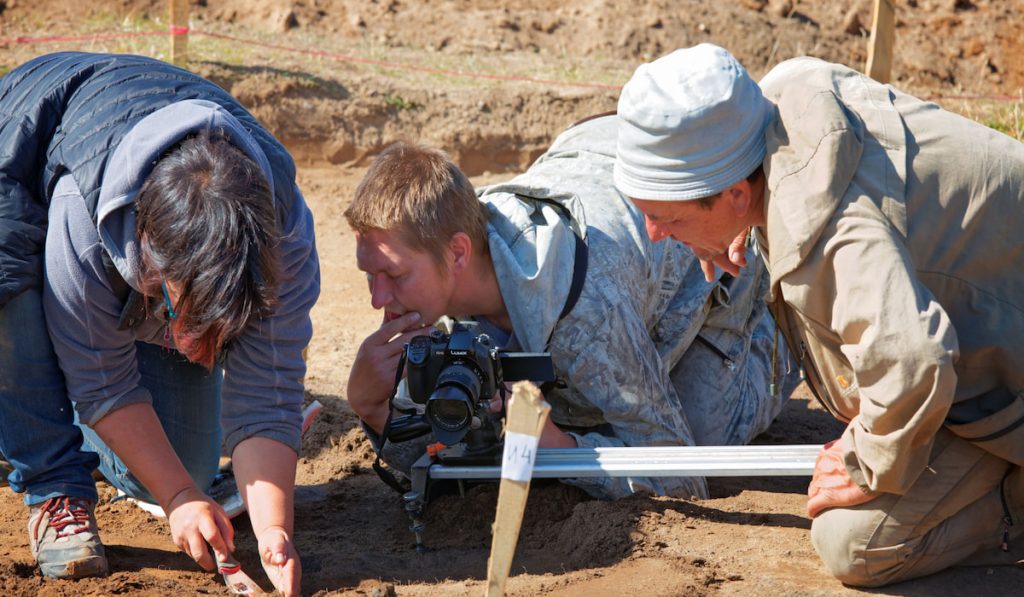
Rules for Handling Artifacts
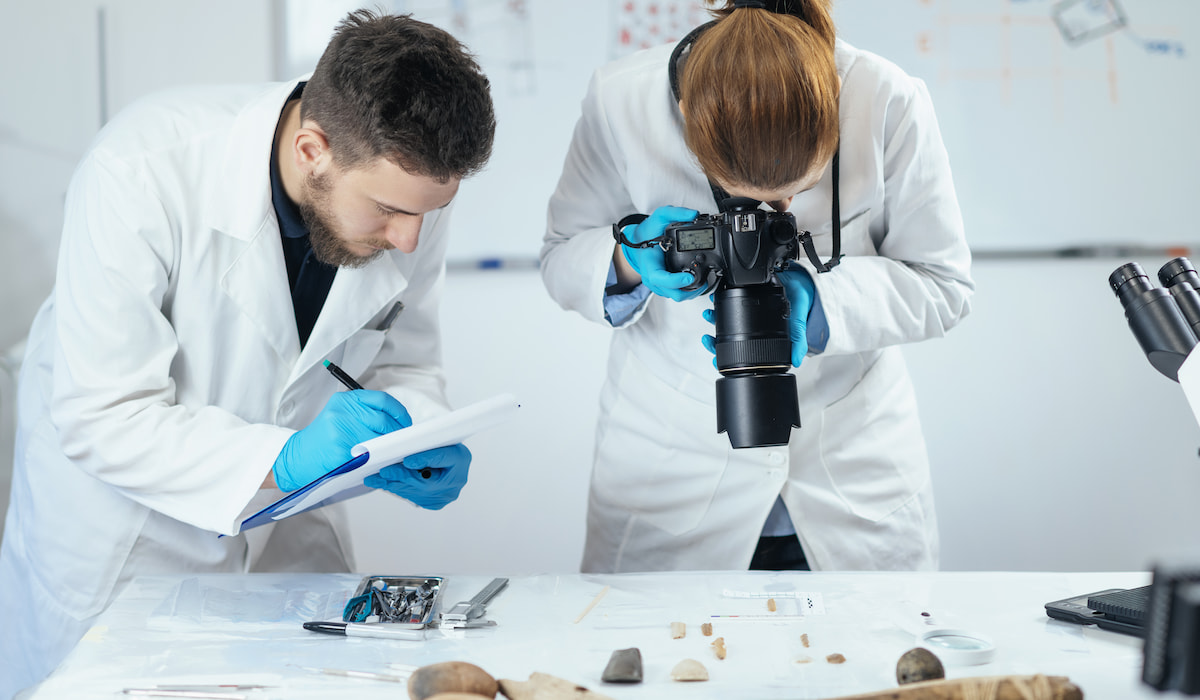
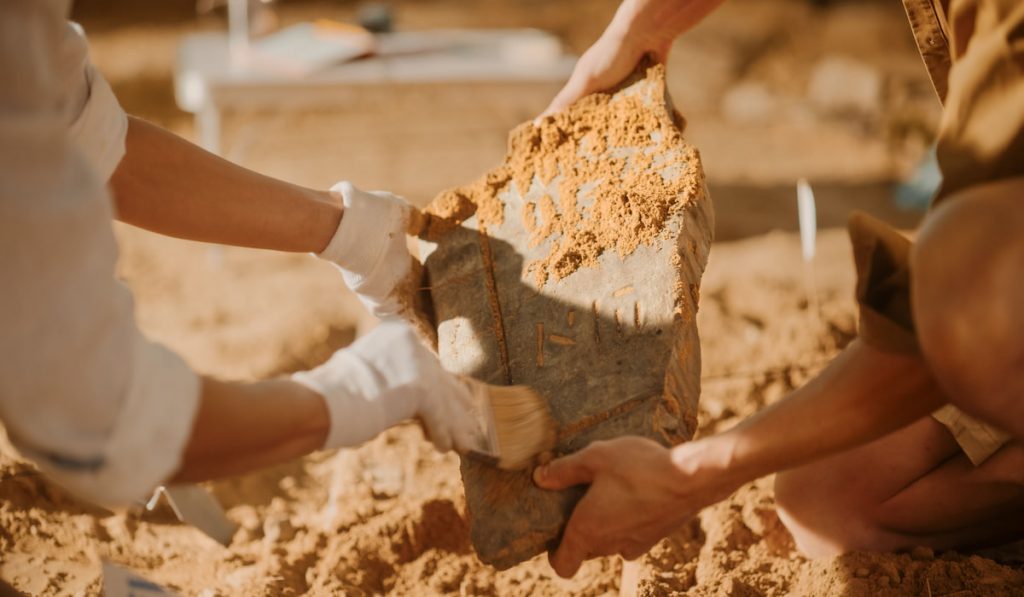
Anyone handling important artifacts needs to ensure they’re using good safety and sanitary practices to keep the items in good condition.
The last thing anyone should do is handle them recklessly or in a way that damages them.
Here are some tips on handling artifacts with care.
Temperature
You should take precautions against unwelcome heat or cold exposure wherever you are. We recommend you always handle artifacts in climate-controlled areas.
Avoiding any drastic swings in temperature is always important.
No one should be smoking around the artifacts or handling the items with warm, ungloved hands.
Gloves
Cotton or latex gloves should be worn at all times to prevent unnecessary heat and oils from contacting the artifact.
Don’t touch the objects mindlessly. Only pick them up or move them if you absolutely must.
No Food or Drink
Never bring food or drink near valuable artifacts. Even in the same room on a different countertop is a risk. You may move the artifact to that counter and spill something there.
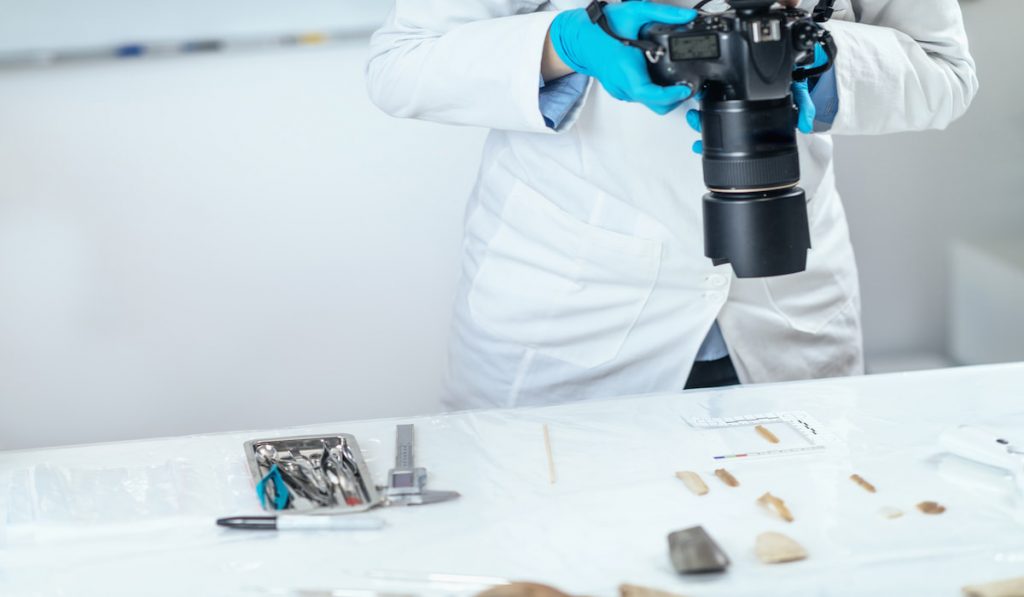
Tighten All Equipment
Professional photography involves a lot of equipment. Cameras and light stands are heavy, and one misstep can mean a damaged artifact.
Think about adding more security by using sandbags to hold down equipment.
Wash Your Hands
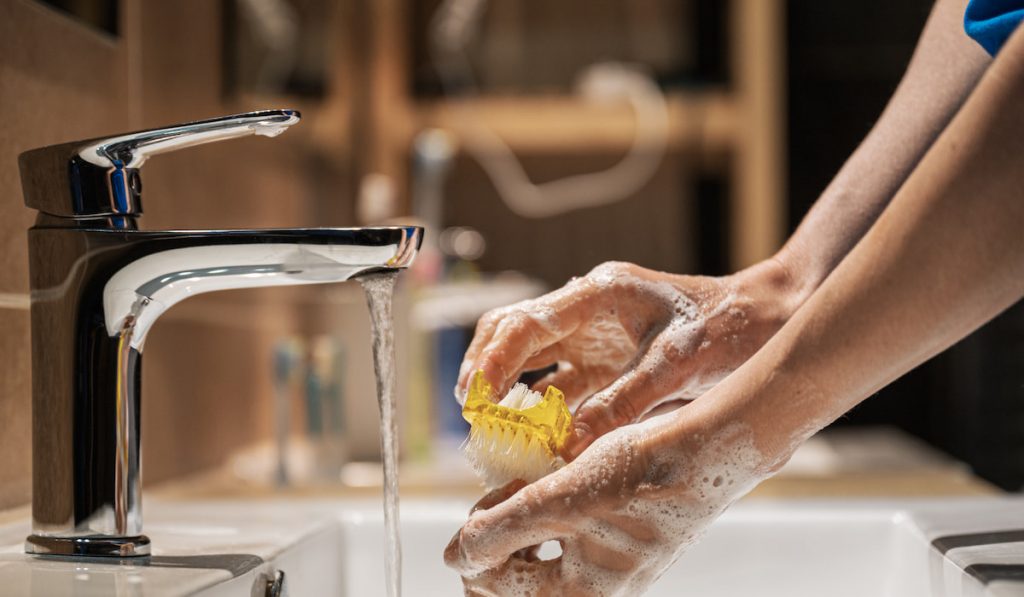
Even though you’re wearing gloves, you could take your gloves off and touch the artifact briefly without thinking.
It’s a good idea to wash your hands thoroughly with soap and water before any photography sessions.
These are just some of the things you should do when handling or photographing valuable artifacts. The goal is to eliminate unnecessary risks to the item and make the photography session move quicker.
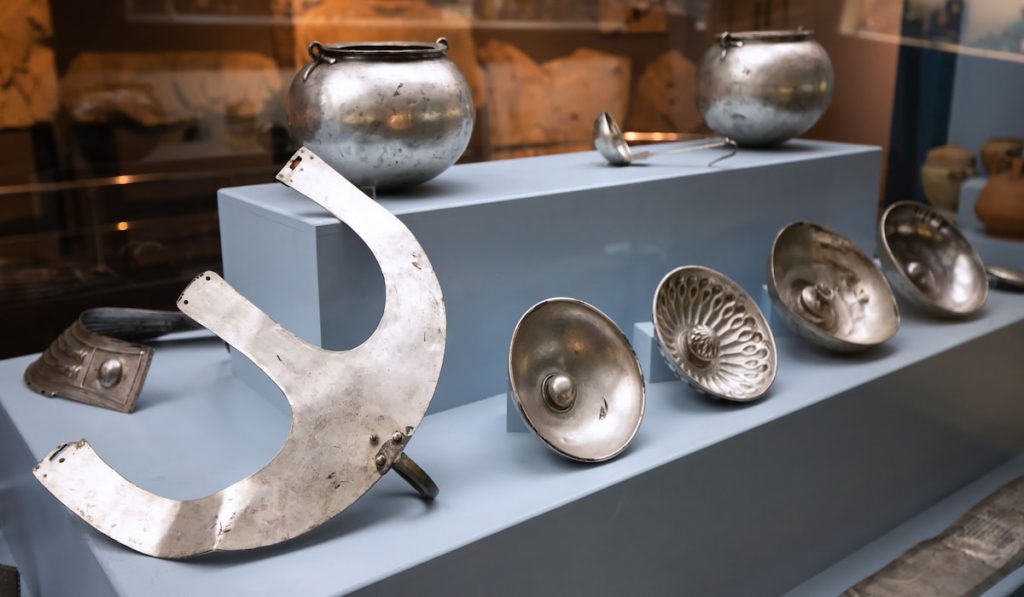
Considering Different Types of Artifacts
The way that you photograph coins is going to be different than cataloging something like stamps.
With any three-dimensional artifact, part of the photographic process is capturing depth and any intricate details. Especially with something like stone or metal artifacts, depth is an important part of the object.
Photographers will need to play with exposures to show both shallow and deep relief marks in the artifacts.
Moving the light source to different angles is typically the best way to adjust for different depths.
Essential Gear
Here’s a breakdown of some of the essential gear you’ll need to get great shots of artifacts.
Preconfigured Copy Stand
Right now, there are several high-quality copy stands available for sale that will make photographing artifacts much easier.
They range in price (depending on the quality, size, and features), but you will be able to find something that fits your needs and is within your budget.
Many modern copy stands have LED tablets that deliver even lighting underneath the artifact.
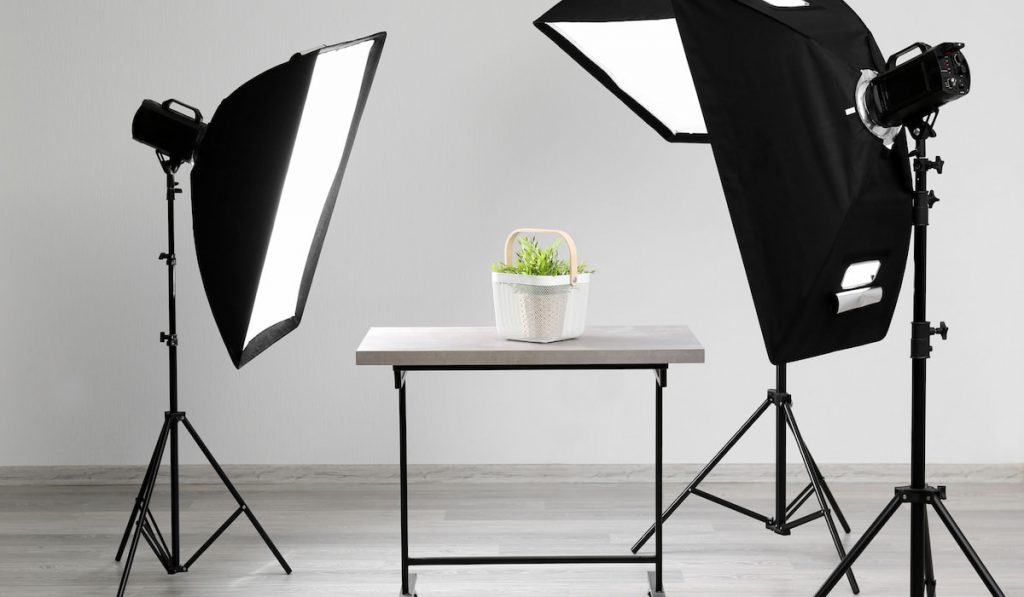
Studio Lights
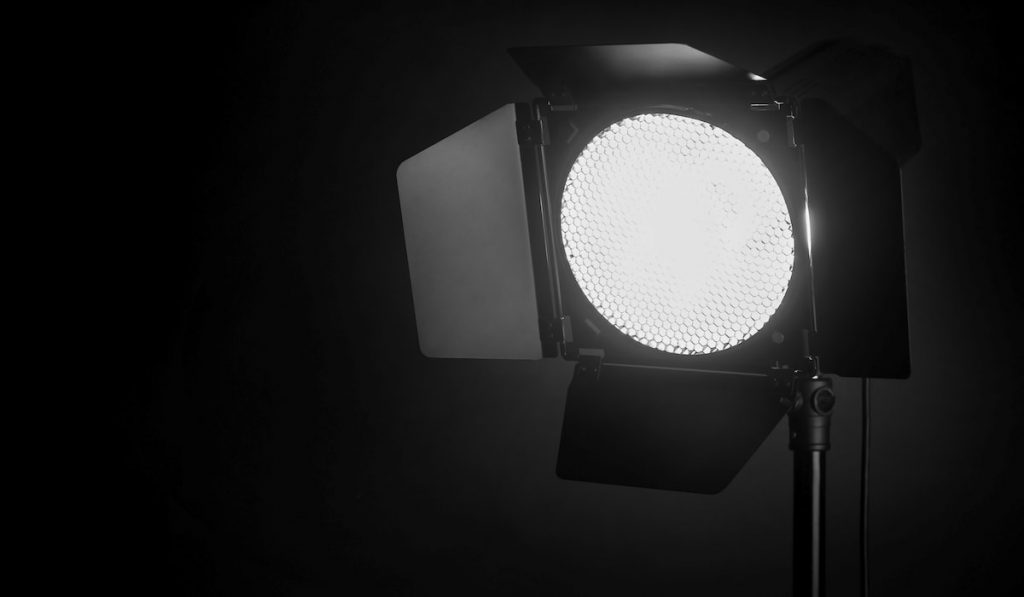
Studio lights on articulating arms are great because you can adjust them up or down to get the perfect lighting for your shoot.
LED Light Paddles
Light paddles are something professional photographers use to provide close-up lighting on the artifact to highlight certain areas. These light paddles come with a tripod base and bendable arms to make configuration easy.
Plexiglass Sheeting
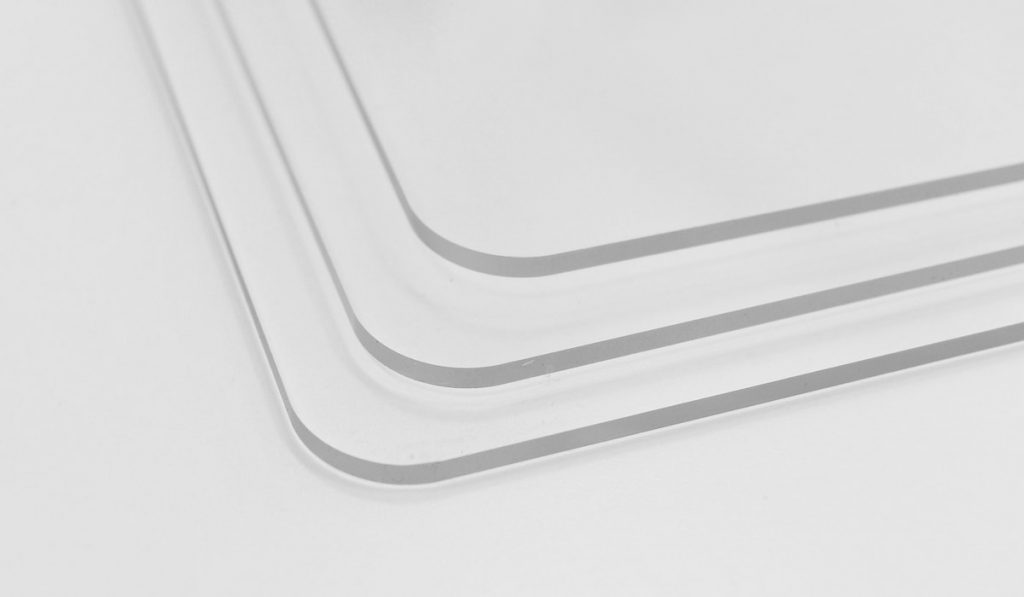
A pro tip you can use is to get a small piece of plexiglass and put the artifact on it. That way, you can slide the plexiglass sheet with the artifact on top to quickly capture different angles without moving the item with your hands.
Ruler
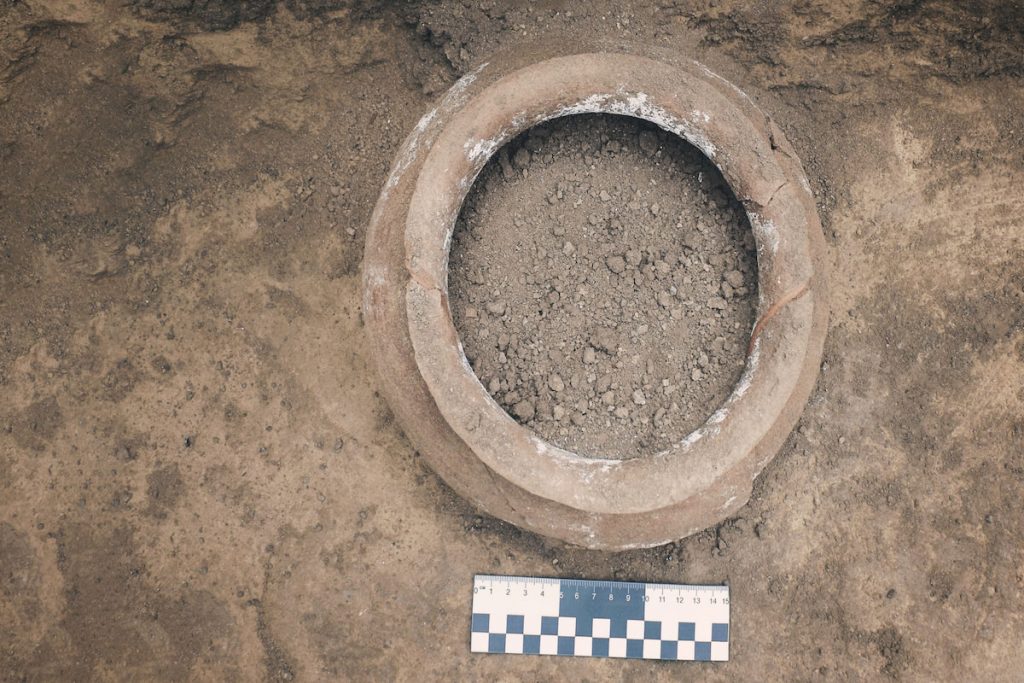
Whether you use a ruler or some other tool, any artifact photo needs something for scale. Ideally, the ruler will be at the same level as the elevated artifact.
Setting Up the Photographing Area
The first thing you should do is prepare the area where you’ll be taking photographs. Setting the scene will make taking pictures faster and more effective.
If you’re working in a lab, you’ll have plenty of options for positioning lights and items. However, working from home is also possible with a bit more preparation.
For small artifacts, you can use something like a coffee table if you don’t have a copy stand. Use a piece of normal white paper to cover the table and tape it in place.
Depending on the background, you may want to find a way to use the same piece of paper as a backdrop.
Try, for example, pushing the back of the paper up and taping it against the wall. This helps eliminate seams or creases that would otherwise show up in the photos.
Photographing artifacts will need changes from time to time, depending on the size of the item and the theme of the photographs.
For example, smaller items may do better in smaller enclosures with three walls that keep outside light from affecting the shot.

Use Modeling Clay for Stands
Many artifacts will need stands to keep them elevated.
For example, something like old Native American arrowheads won’t stand on their own. If they’re particularly old, simply leaving them on a hard surface can be enough to damage them.
Have some modeling clay or something soft like pencil erasers to act as stands for the subject.
You can also place rulers and other items necessary for scale and measurements in the clay so they stay positioned close to the artifact but don’t touch it.
Using Lights and Reflectors to Capture Clear Images
Typically, lights are best positioned above the artifact. However, there are times when a 45-degree or greater angle is necessary to cast a long enough shadow across the object that captures depth.
Photographers should play with angles to capture different contrasts.
In terms of color, usually, white lights provide the best clarity and picture. They also make it easier to adjust colors, balance, and other aspects of the shot in postproduction.
When shooting small artifacts, white reflectors made of cardboard can do the trick. You’ll need some sturdy tape to shape the cardboard around the artifacts to provide a seamless backdrop with even lighting.
The goal of shooting artifacts is often to make the front of the object as bright as possible. This gives the shot a crisp, even look with good balance.
To get that crisp look, move the reflector edges until you see them in the shot. Then, move them slowly until they are just outside the frame for the best results.
Artistic Shots Take Effort
Catalogers, estate sales, museums, and collectors tend to save artistic photography shoots for their more valuable artifacts.
For instance, if you’re helping a family work through an entire house of antiques, you should separate the items according to monetary value.
The reason being artistic shots take much longer. They usually involve:
- Using wooden, glass, or metal stands
- Colored backdrops
- Silk cloths underneath the item
- More work in postproduction
Common artifacts can be shot against the same white backdrop one by one.
Of course, you’ll still want to handle them carefully, but artistic shots are great because they add value and desirability. Even if you’re not selling them, nicer photos add a certain flair to the artifact.
A good artistic shot can take you hours when all is said and done, so make sure whatever it is you’re shooting is worth the time.
Postproduction
After all of your setup and care handling each item, you’ll still need to put in a lot of work in postproduction adjusting white and black levels, contrast, and photo saturation.
Thankfully, we have a lot of software solutions available to make it happen much faster than in generations past.
Learning how to use photo editing tools takes time and effort. You’ll likely have to watch plenty of online tutorials to get the results that you want.
However, once you’re proficient with the tool, your work will be much faster.
Use software to eliminate any blemishes in your photos, change light levels, and remove lines in the backdrop.
On your computer, you can ensure that each backdrop is perfectly white without any shadows.
For people selling artifacts on eBay or other popular marketplaces, plain white backgrounds are the most popular, so learn how to do that one first if you’re selling.
If you’re not selling but are just cataloging artifacts, you will want to keep things uniform. Adjusting the settings to the color levels and saturation you want will make it easier to go through your catalog and make each photo the same.
Final Thoughts
We hope these tips will help you to create a professional catalog of your artifacts or antique items!